Nomadic Backpacker - Travel Blog

Welcome to the Nomadic Backpacker Travel Blog, the blog that's dedicated to saving you money with posts like where to find the ATMs with the lowest fees or how to get around using public transport be it the metro or on chicken buses and border crossings.
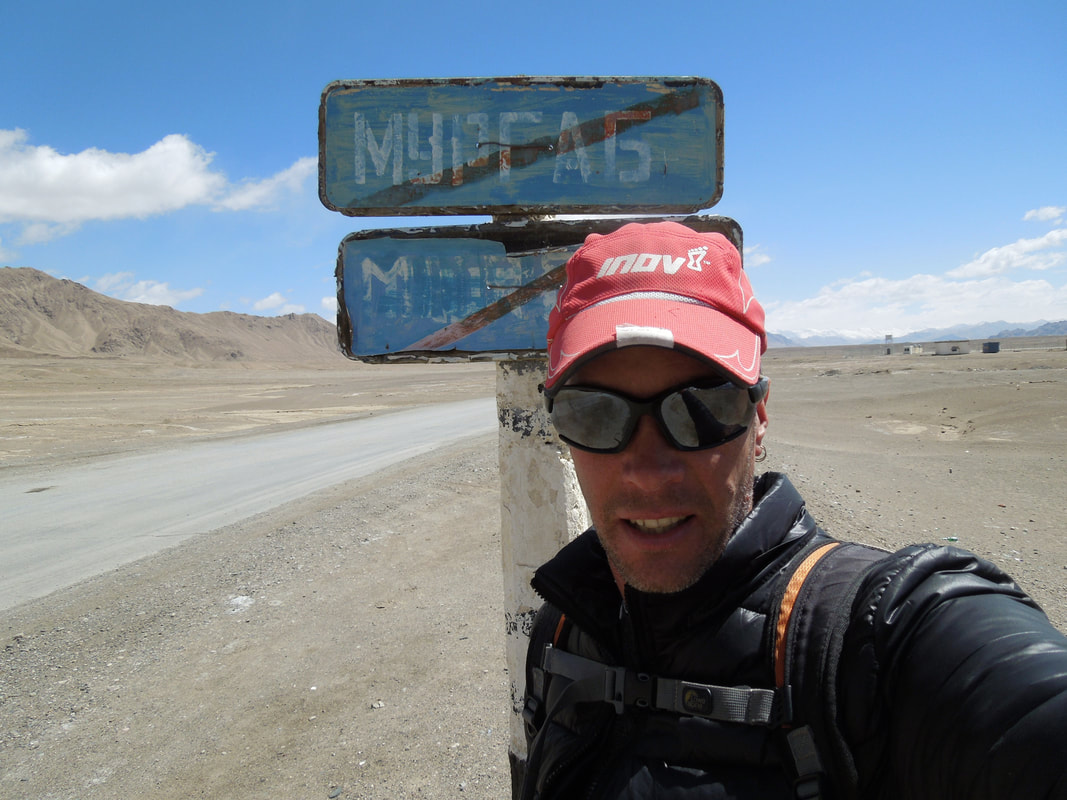
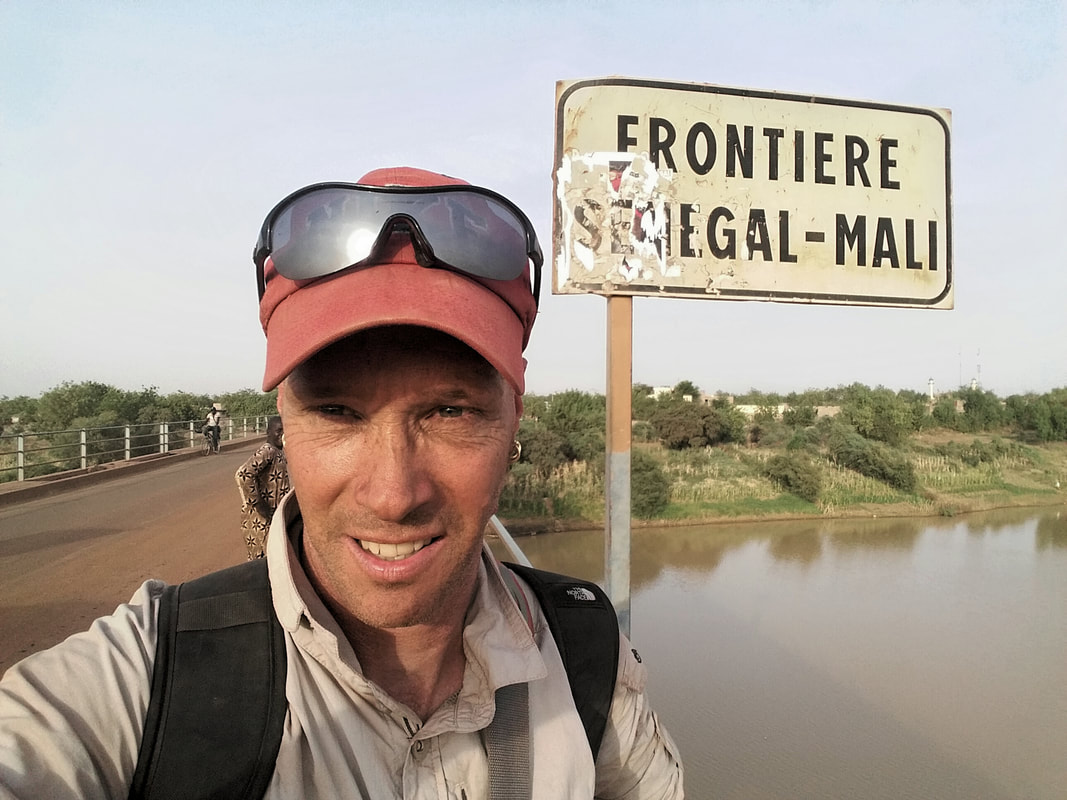
I have been travelling with a backpack for more than 31 years, through more than 110 countries and territories.
I have been travelling with a backpack for more than 31 years, through more than 110 countries and territories.